Image from here
Recently I was going through a blog post that wrote by Shawn @swyx Wang, regarding the How to market yourself and I thought this is a good time to start my blog. Huge shoutout to him. You should definitely follow him on Twitter.
For the initial step, I check that where I can host a web site pretty easy and I landed to Netlify. Then I checked on an open-source template that fit for me. With the hundreds of open-source template, I selected Lumen. It is a really simple template and easy to setup. Also comes with Netlify CMS support.
So, this is my back-story. Now let’s go to some challenges that I faced while I am set up this app. All of these issues are related to configuring the CMS.
-
Select the correct branch name for Netlify CMS, if you are creating a new private copy.
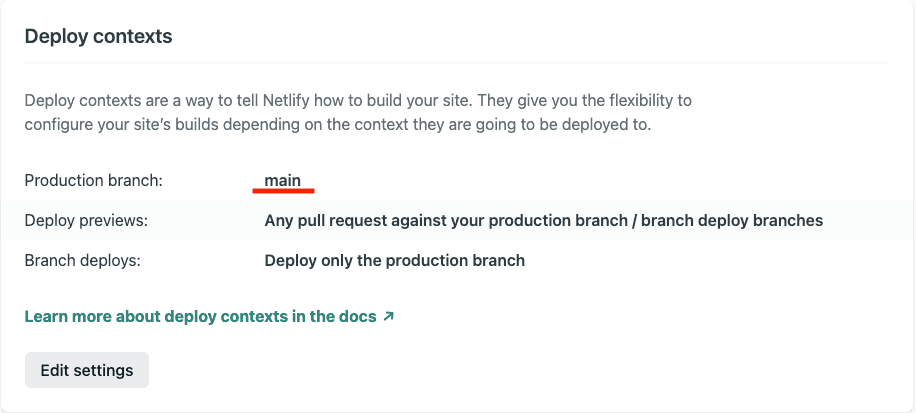
I wanted a private copy of the code base and I used the default branch and now its name is “main”. Check here for the background details on master -> main, name change. So, if you going to have a private copy of this project you need to change the branch name in config.yml file in the static/admin folder.
In site setting -> Build and deploy check that you selected the correct branch as below image.
-
Setup the OAuth app for the CMS.
Why this is important? Once you host the site, it is really easy to manage the content via CMS. So you need to add some users. Then you can log in to CMS. But in this process, you need to authenticate the users. For that, you need to add Auth app to register in Github. My idea was that once I added a user, I could able to log in to CMS. But I faced the below issue.
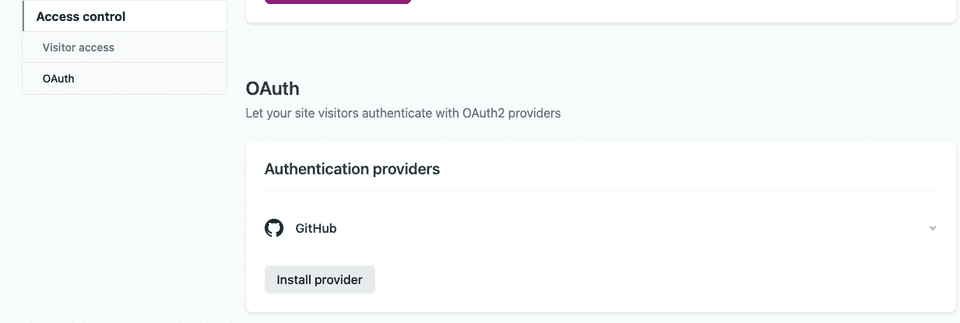
Even I select the correct branch I got this error. (https://community.netlify.com/t/branch-not-found-error-on-netlify-cms-login/2015). So to prevent that you need to create OAuth provider token from Github and need to add it to your Netlify app. Here is the way to do it.
(https://docs.netlify.com/visitor-access/oauth-provider-tokens/#setup-and-settings). Once you added correctly you will see it like this.
Useful tips.
-
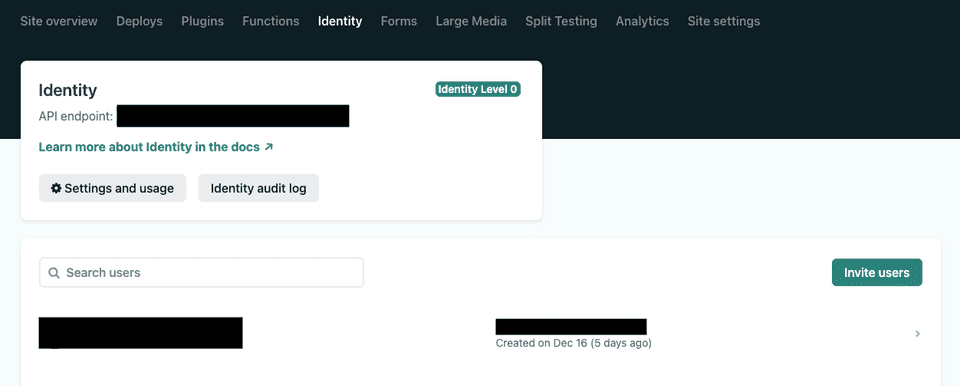
Add a user to login from Netlify CMS.
There are the users that can log in to CMS. Click on Identity tab in the header section and a user.
-
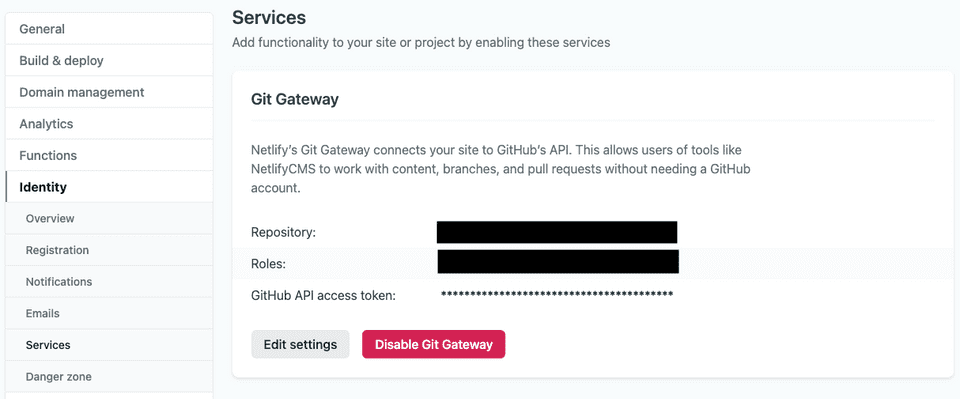
Git Gateway
Please check that you added a Git Gateway to your Netlify app to commit your repo›. It is in Site Settings -> Identity -> Git Gateway
Thank you. Until next time.


